Prom Makeup That Photographs Beautifully: Looks and the Products Behind Them
Prom makeup that photographs beautifully — a London MUA's soft-glam and glitter looks broken into affordable, shoppable products to recreate at home.
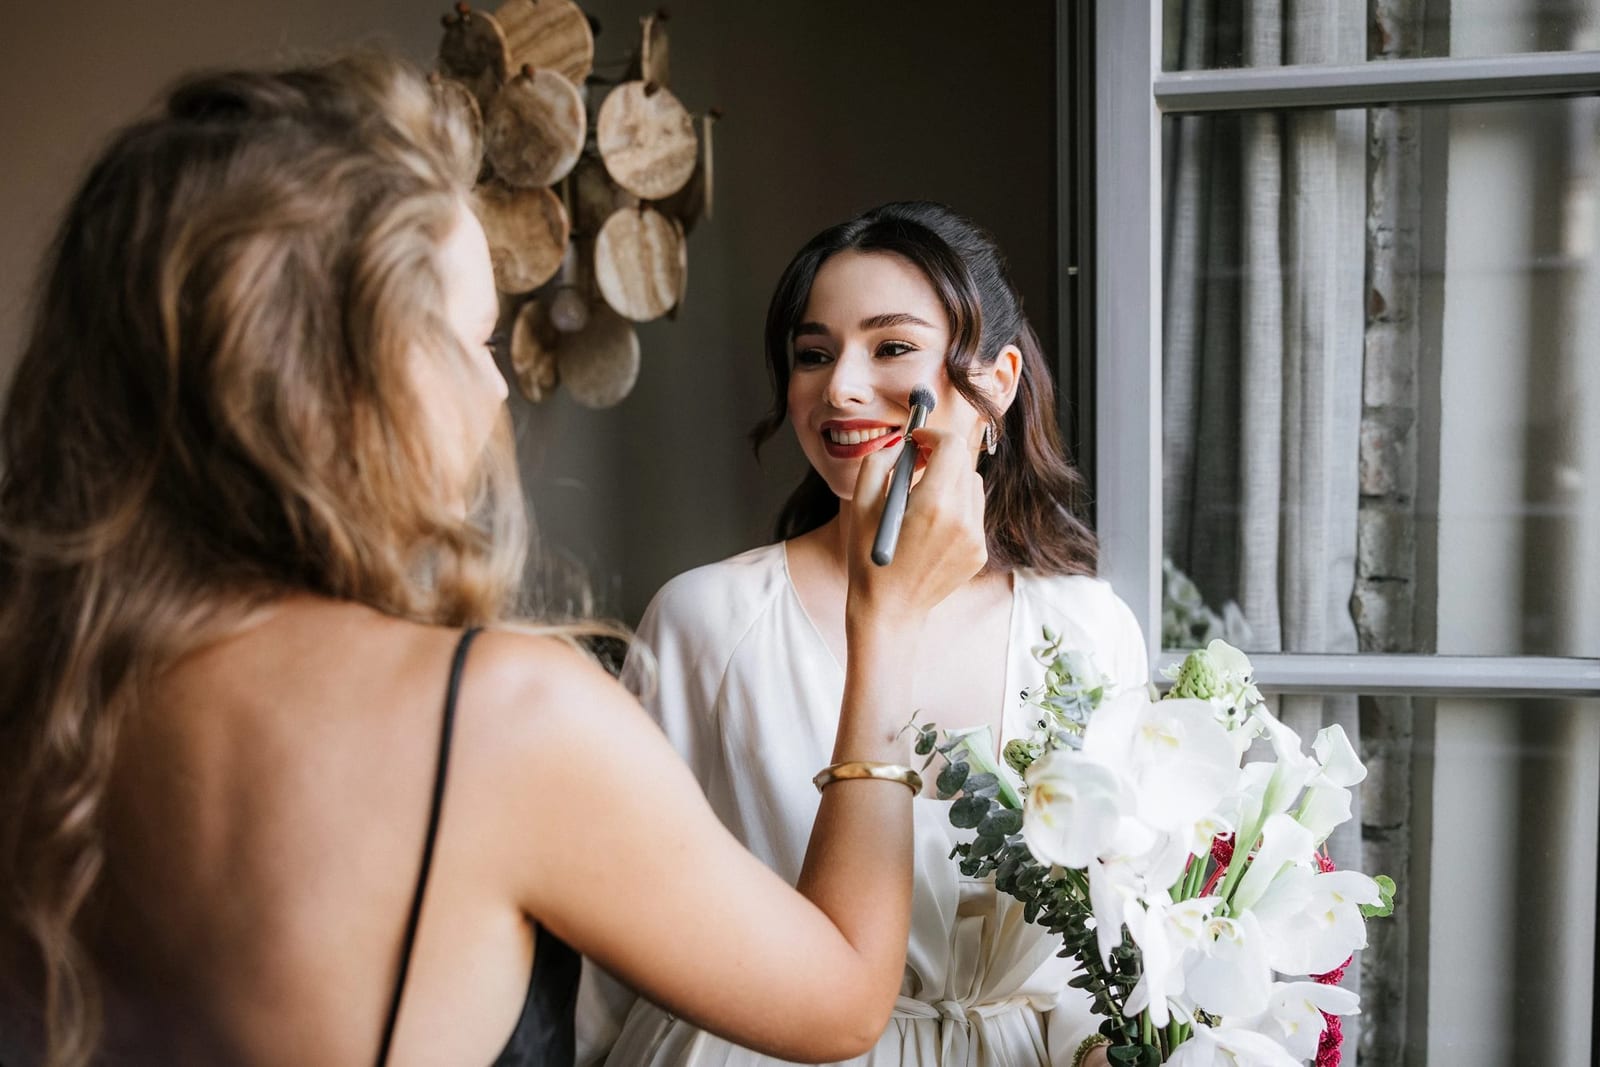
Prom is one of the few nights I get asked to do makeup for someone who has never really worn much before, and I love those chairs. There is a particular excitement to it — the dress has been chosen for months, the shoes are new, and the whole evening is going to be photographed from every angle by friends, parents and a hired photographer with a very unforgiving flash. That last part is the bit most people forget. Prom makeup does not just have to look lovely in the bathroom mirror at home; it has to survive a camera, a warm hall and several hours of dancing, and still read beautifully when those pictures land on everyone’s phones the next morning.
The good news is that a look which photographs well is not about spending a fortune or owning fifty products. It is about a few sensible choices and a little bit of technique. Below are the two looks I come back to again and again for prom — a soft neutral glam that flatters absolutely everyone, and a glitter look for the client who wants to sparkle — with the exact products I would put in a teenager’s hands to recreate them at home.
Some links below are affiliate links. As an Amazon Associate I earn from qualifying purchases — at no cost to you. I only recommend products I would genuinely use on a client.
The one rule of makeup that photographs well
If you take one thing from this whole piece, make it this: dimension is everything. A camera flattens a face. The bright, direct light of a flash bounces off skin and erases the natural shadows and highlights that make a face look three-dimensional in real life. This is why so many prom photos come back looking a little pale, a little flat, a little washed out — even when the makeup looked gorgeous in person.
Why flash flattens and how to build in dimension
The fix is to build back in, deliberately, the shape the flash steals. That means a touch of soft contour under the cheekbones, a warm blush placed slightly higher than feels natural, and a highlight on the tops of the cheekbones and down the nose. On the eyes, it means a defined crease so the eye still reads with depth once the light hits it. You are essentially painting in the shadows the camera will remove. Done gently, none of this looks heavy in person — but it is the difference between photos that look alive and photos that look like a passport control queue.
The other half of the rule is finish. Very matte skin can look dull and dry on camera, while very dewy skin can catch the flash and turn into an oil slick in a photo. What you want is skin that looks like skin — a soft satin finish, glowing on the high points but set everywhere the face naturally creases. We will get to how to lock that in near the end.
A quick word on doing your own versus booking a pro
I will always be honest here: a professional will get you a more camera-ready, longer-lasting result, and for a milestone night that is worth considering. But plenty of teenagers want the fun of doing their own, or the budget simply is not there, and that is completely fine. Everything below is written so that a beginner — or a mum helping out — can genuinely recreate it. If you do decide you would rather hand it over on the day, my special occasions makeup service is built for exactly this kind of night.
Look one — soft neutral glam (the flattering-on-everyone look)
This is the look I reach for most, because it suits every skin tone, every eye colour and every dress, and it never dates. Warm neutrals, a defined but soft eye, a wash of glow and a natural lash. It is the look that makes people say you look like yourself, only lit from within — which is exactly what you want in a photo you will still be fond of in ten years.
The palette: an affordable neutral or the one to invest in
The whole look lives or dies on the eyeshadow, and you do not need to spend much. For a beginner working to a budget, this palette is genuinely all you need. The shades are properly pigmented — which matters, because weak, chalky shadow is what makes home eye looks disappear on camera — and there is a matte transition shade, a couple of mid-tones and a shimmer, which is the exact little wardrobe this look calls for.

e.l.f. Perfect 10 Eyeshadow Palette
£10.22 Amazon price, checked Jul 2026
Ultra-pigmented neutral shades under a tenner — the affordable base for the soft-glam look a teen can recreate without any experience.
View on Amazon →If you would rather buy one really good palette that will last for years and get used long after prom, this is the one I would point you to. The formula is foolproof — it blends so easily that it is almost impossible to overdo — and the neutral range means it works for casual days and big nights alike. Think of it as the investment version of the same idea.

URBAN DECAY NAKED 2 BASICS EYE PALETTE
£24.00 Amazon price, checked Jul 2026
The 'if you want to invest' neutral palette — foolproof, blendable shades that photograph beautifully and last years.
View on Amazon →Building the eye step by step
Start with the lightest matte shade across the whole lid as a base — this evens everything out and gives the colours something to grip. Then take a warm mid-brown on a fluffy brush and work it into the crease in small circular motions, building slowly. The word to remember is slowly: it is far easier to add more than to fix a heavy hand. Once the crease has soft depth, press a shimmer shade onto the centre of the lid with a flat brush or a clean fingertip — patting, not sweeping, so the shimmer stays put and catches the light. Finish by smudging a little of the mid-brown along the lower lash line to tie it together. A soft brown or black liner tight into the upper lash line, a coat of mascara, and the eye is done.
The lashes that lift it: a natural strip
A natural strip lash is what takes this from pretty to photographic. It adds density along the lash line that mascara alone cannot, and on camera that reads as bright, open eyes. For a nervous first-timer these are the ones I recommend, because they are wispy and light rather than a heavy full strip — forgiving to apply, and they look like very good lashes rather than obvious falsies.
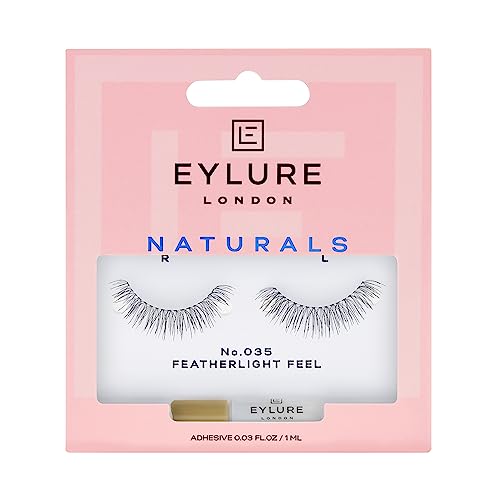
Eylure Natural 035 Strip Lashes (packaging may vary)
£5.72 Amazon price, checked Jul 2026
A natural, wearable strip lash that lifts the soft-glam look without looking heavy — the easiest first false lash for a nervous teen.
View on Amazon →Look two — glitter and sparkle (for the bold one)
Some clients do not want subtle, and prom is the perfect excuse. For them I do a glitter eye — a wash of colour with a genuine sparkle pressed onto the centre of the lid, balanced with a slightly fuller lash and kept clean everywhere else. The trick with glitter is restraint: sparkle on the eyes, everything else grown-up and polished, so the overall effect is glamorous rather than crafty.
The palette: pressed glitters, not loose
Here is the single most useful thing I can tell a beginner about glitter — use pressed glitter, never loose. Loose glitter scatters everywhere, ends up on the cheeks and in the foundation, and is genuinely difficult even for professionals to keep tidy. Pressed glitters like the ones in this palette stay where you put them, which makes them the beginner-friendly way to get sparkle that actually reads on camera. There is a good range of shades in here, so you can match the glitter to the dress.

UCANBE Pro Glitter Eyeshadow Palette
£8.99 Amazon price, checked Jul 2026
Pressed glitters mean far less fallout than loose glitter — the beginner-friendly way to get sparkle that reads on camera.
View on Amazon →How to apply glitter so it stays put
The secret is a sticky base. Do your full matte eye first — a soft neutral wash so the eye still has shape underneath. Then, for the glitter, use a tiny amount of a gel or cream (even a dab of clear lash glue or a glitter primer works) pressed onto the lid where you want the sparkle. Pat the glitter on top with a flat brush or a fingertip, pressing rather than sweeping. The tackiness holds the glitter in place and stops the dreaded fallout down the cheeks. Do the glitter step before your foundation and concealer if you can, so any stray specks can simply be wiped away and covered.
Fuller lashes to balance it: a wispy classic
A bolder eye needs a lash with more presence, or the glitter overwhelms it. These are the industry standard for a reason — fluttery, tapered and flattering on every eye shape — and because this pack comes with several pairs, there is room to do a practice run or two before the night itself. I always tell first-timers to open the box a few days early and try one pair, so prom morning is not the debut.

Ardell Multipack Demi Wispies False Eyelashes
£9.95 Amazon price, checked Jul 2026
The industry-standard fluttery lash that balances a bolder glitter eye — a five-pair pack means practice runs before the night.
View on Amazon →The step everyone forgets: locking it in for the whole night
You can do the most beautiful eye in the world, but if it slides off during the first dance, none of the later photos will show it. Setting spray is the step home users skip most, and it is the one professionals never do. It melts the powder and product together into one flexible layer, kills any powdery flatness, and dramatically extends wear. For prom specifically, it is what carries the makeup from the pre-drinks photos to the very last song.
The budget hero that survives a dance floor
If you are buying one thing off this list, make it this. It is inexpensive, it genuinely holds through dancing and dinner, and it gives skin that skin-like satin finish the camera loves. Hold it an arm’s length away and mist in an X and then a T across the face — do not soak it, a light even veil is all it needs.
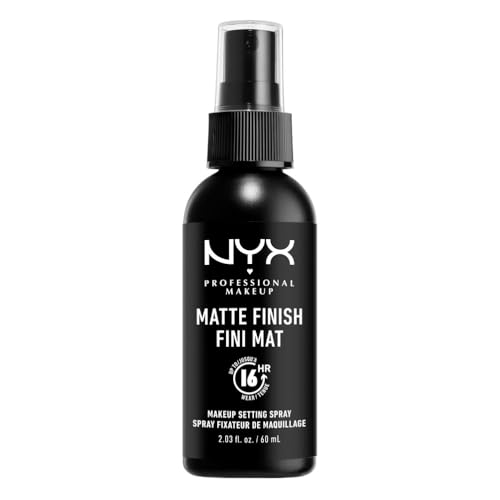
NYX Professional Makeup Setting Spray for Face
£8.87 Amazon price, checked Jul 2026
The budget hero that keeps makeup put through dancing and dinner — the one non-negotiable step for photos that hold up all night.
View on Amazon →Worth it for a big-photo night
If the budget stretches, or the prom is somewhere warm and the evening long, this is the setting spray I carry to real events. It is genuinely waterproof, which matters more than you would think on an emotional night — happy tears, a hot marquee, a crowded hall — and it simply does not budge. For a once-in-a-lifetime photo night, I think it earns its price.

Urban Decay All Nighter Waterproof Makeup Setting Spray Natu
£22.12 Amazon price, checked Jul 2026
The premium 'worth it for a big night' setting spray — genuinely waterproof, so it survives happy tears and a warm marquee.
View on Amazon →A colour-theory shortcut for choosing your shades
Picking shadow shades feels overwhelming, but there is a simple shortcut. The most flattering eyeshadow is usually the one that sits opposite your eye colour or complements your dress. Warm coppers and bronzes make blue eyes pop; soft plums and purples do the same for green and hazel; and warm browns and gilded tones are endlessly flattering on brown eyes. If you are pairing to the dress, either echo it (a soft blue shimmer with a navy gown) or contrast it gently. I have written this out in much more depth in my guide to colour theory in makeup if you want the full logic behind it.
Matching shadow to eye colour and dress
One word of caution: matching your eyeshadow exactly to a very bright dress can look a little costume-y in photos. Better to take the shade a few steps softer and more neutral — a dusty version of the dress colour, or a warm neutral with just a hint of it in the shimmer. Neutral-leaning looks also age far better in the pictures, which is worth remembering when the whole point of the night is the photographs.
The night-before and on-the-day timeline
What to prep the evening before
Do the boring, unglamorous groundwork the night before so the morning is calm. Exfoliate gently and use a rich moisturiser so skin is smooth and hydrated — makeup sits far better on a well-prepped canvas. Lay everything out: palette, lashes, glue, mascara, setting spray, brushes. If you are wearing falsies, open the box and do a full practice application now, not at 4pm on the day. And get an early night — nothing photographs worse than tired, puffy eyes, and no product fixes a lack of sleep.
The 45-minute application order
On the day, work in this order and give yourself three-quarters of an hour without rushing. Skincare and primer first. Then, if you are doing the glitter look, the eyes come before the base so you can clean up fallout. Foundation, concealer and cream products next; then powder only where you get shiny. Cheeks — contour, blush, highlight — to build back that dimension. Brows. Lashes, once the glue has gone tacky. Lipstick last. Then, and only then, the setting spray to lock the whole thing down. Working in that order means you never smudge a finished section, and you finish with time to spare for photos at home before the car arrives.
Frequently asked questions
What makeup looks best in prom photos?
A soft satin finish with built-in dimension — gentle contour, blush placed a touch high, and highlight on the cheekbones — photographs far better than either very matte or very dewy skin. On the eyes, a defined crease and a natural or wispy lash keep the eyes looking open and bright under flash. Keep colours slightly more neutral than you think you need; they read truer on camera and age better in the pictures.
How do I stop my prom makeup smudging or fading?
Set it and spray it. Use a little powder anywhere you tend to get shiny — the T-zone especially — then finish with a setting spray, which fuses everything into one flexible layer that survives dancing and warmth. A budget matte spray is enough for most; a waterproof one is worth it if the night is long, warm or likely to be emotional. Blotting papers in a clutch are a nice insurance policy for a mid-evening touch-up.
Is glitter eyeshadow hard to apply?
Not if you use pressed glitter rather than loose, and a sticky base underneath. Pat a tiny amount of a gel, glitter primer or even clear lash glue onto the lid, then press the pressed glitter on top with a flat brush or fingertip. Doing the glitter step before your foundation means any stray specks wipe away and get covered by the base — no glittery cheeks.
What false lashes are easiest for beginners?
A lightweight, wispy natural strip is the most forgiving. Heavier, denser strips are harder to place and more obvious if they go slightly wrong. Whatever you choose, buy a multipack or an extra pair and practise a few days before, wait for the glue to go tacky before applying, and use a lash applicator or clean tweezers rather than your fingers for control.
Prom comes around once, and the photographs really do last — so it is worth getting the makeup right, whether you do it yourself with the products above or hand it over to someone who does this every week. If you would rather relax and let me take care of the whole thing so you can enjoy getting ready, my special occasions makeup service covers exactly these big, once-only nights.
Prices and availability were correct when I checked in July 2026 and change often — the live price is always on Amazon. Certain content on this page comes from Amazon and is provided "as is". As an Amazon Associate I earn from qualifying purchases.