False Lashes for Beginners: How to Apply, Remove and Which to Buy
Learn how to apply false eyelashes the way a London MUA does, plus how to remove them safely and beginner-friendly lashes worth buying.
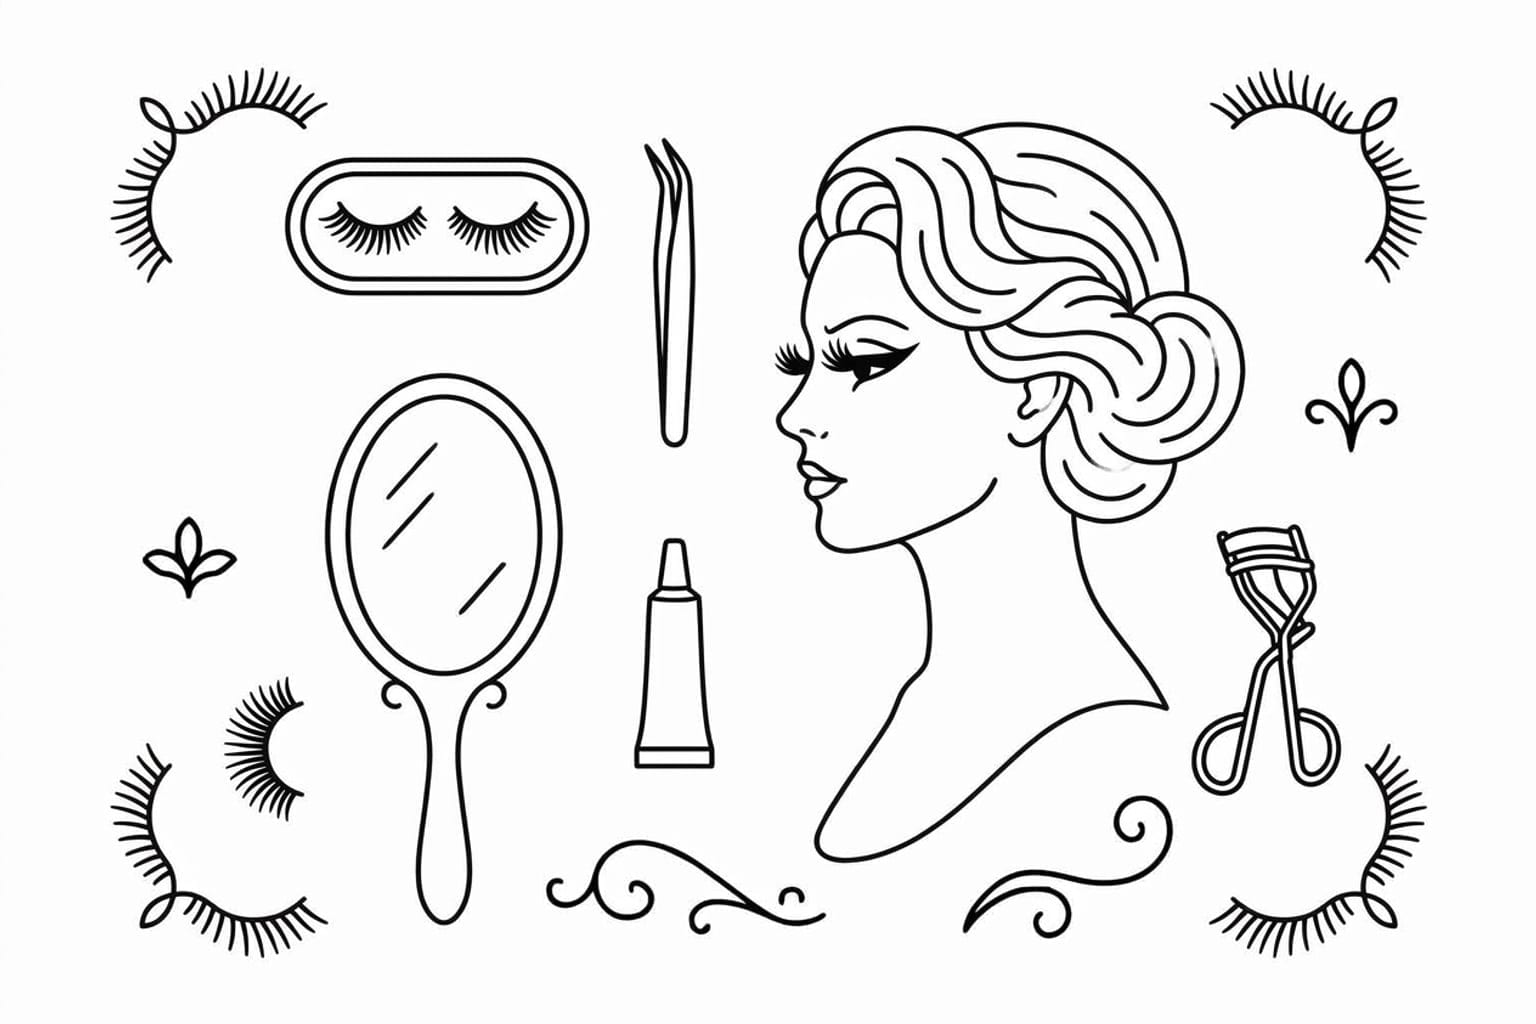
I apply false lashes almost every working day, and I can tell you the moment they go on is the moment a client’s whole face wakes up. Eyes look more open, more awake, more finished. And yet lashes are the one thing people are most frightened to attempt themselves at home. They buy a pack for a birthday or a wedding, wrestle with them in the bathroom mirror for twenty minutes, and give up with glue on their cheek.
It doesn’t have to be like that. Almost every lash disaster I’ve seen comes down to two or three small mistakes that nobody ever told them about. Once you know them, falsies become the fastest, most forgiving upgrade in your whole routine. So let me walk you through it exactly the way I would teach it in a lesson, and then show you the specific lashes I actually reach for on real people.
Some links below are affiliate links. As an Amazon Associate I earn from qualifying purchases — at no cost to you. I only recommend products I would genuinely use on a client.
Falsies aren’t cheating — they’re the fastest upgrade you’ll make
There’s a funny bit of guilt some people carry about false lashes, as though wearing them is somehow dishonest. I promise you no one is thinking that when they catch their reflection and love what they see. A good lash does in ten seconds what a mascara can only gesture at: it adds density right at the root, opens the eye, and gives a photograph something to catch the light on. For an evening out, a party or a wedding, it is the single highest-impact thing you can add.
The trick is choosing a lash that suits your eye and applying it so it looks like it grew there. Both of those are learnable. Let’s start with what you actually need on the table in front of you.
What you actually need before you start
Most beginners fail before they even open the glue, simply because they’ve set themselves up to fight. Get the right few pieces of kit and everything downstream becomes easier.
Strip lashes vs magnetic lashes for beginners
There are two honest routes into false lashes, and neither is wrong. Strip lashes are the classic: a band with lashes on it that you glue along your lash line. They give the most natural, seamless result and the widest choice of styles, but they ask a little more of your hands. Magnetic lashes skip glue entirely — you paint on a magnetic liner and the lash simply clicks onto it, and lifts off again if you’re unhappy. If the very idea of glue makes you tense up, start magnetic. If you want the most invisible, professional-looking finish, learn strips. I use both, and I’ll recommend a specific one of each further down.
The tools that make it foolproof
The biggest mistake I see is people trying to place a delicate lash strip with their fingertips. It’s like trying to thread a needle wearing oven gloves. A proper lash applicator — a little curved tool that grips the band — gives you the control that suddenly makes the whole thing click.

Clusters DIY Lash Applicator
£3.99 Amazon price, checked Jul 2026
Trying to place a lash with your fingertips is why beginners fail — this cheap applicator gives the control that makes the whole thing suddenly easy.
View on Amazon →Beyond that you want a small hand mirror you can hold at chin height and tilt (looking down into a mirror, not up at one, is a detail I’ll come back to), a pair of small scissors for trimming, and your lash glue. That’s genuinely it.
How to apply false eyelashes step by step
Here is the exact sequence I use. Read it through once before you touch anything — the order matters more than people expect.
Step 1 — measure and trim to your eye
Strip lashes are made long to fit every eye, which means they’re too long for almost everybody. Hold the band against your lash line and see where it sits — it should start a few millimetres in from your inner corner, not right in the tear duct, and end at your natural lash line, not past it. Trim the excess from the outer edge, never the inner, because the outer end is where the longer, dramatic lashes live and you want to keep those at your corner. A lash that overhangs your eye is the single most common reason falsies lift and poke.
Step 2 — do your eye makeup and mascara first
Always apply your eyeshadow, liner and a coat of your own mascara before the lash goes on. Your mascara gives the false lash something to marry into, so the two blend instead of sitting as two separate rows. Doing shadow afterwards means fallout lands on a lash you’ve just carefully placed, and touching liner up around a strip is fiddly and messy. Build the eye, then crown it with the lash.
Step 3 — apply the glue and let it get tacky
This is the step that makes or breaks the whole thing, and it’s the one everyone rushes. Run a thin line of glue along the band — a little extra at the two ends, which are what lift first — then wait. Do not put it straight onto your eye. Count to thirty. Glue applied wet slides everywhere and won’t grip; glue that’s had thirty seconds to go tacky grabs on contact and holds. This single pause fixes half the lash failures I ever see.
The adhesive I trust in my own kit is DUO. It’s the professional standard for a reason — it dries clear and stays flexible rather than crispy, holds through a long evening, and gives you those crucial tacky seconds to place the band without it setting hard the instant it touches skin.

DUO Quick-Set Striplash Adhesive
£5.27 Amazon price, checked Jul 2026
The professional standard glue in my kit — dries clear and flexible, holds all night, and gives you those crucial seconds of tacky wiggle-room to place the lash.
View on Amazon →Step 4 — place from the centre, then the corners
With the band grasped in your applicator, look down into a mirror held below your face — this exposes your whole lash line and stops you flinching. Lay the middle of the band down first, as close to your natural roots as you can get, then press the inner corner, then the outer. Working centre-out means the lash sits balanced instead of skewing off to one side, which is what happens when people start at a corner.
Step 5 — press the band into your lash line
Once it’s down, gently press along the whole band with your applicator or a fingertip to seat it right against your roots — you want no visible gap of skin between your real lashes and the false ones. If you like, squeeze your natural lashes and the falsies together with your fingers to fuse them, and a final coat of mascara over the top blends the two into one. Give it a minute to fully set before you go anywhere near it again.
The best false eyelashes to buy as a beginner
The lashes that look effortless in a photo are usually far too heavy and dramatic for a first attempt on a real face. Here are the ones I actually put in beginners’ hands, matched to what they’re doing.
Best natural everyday strip — Eylure Naturals
When someone tells me they’ve never worn a lash and they’re nervous, this is the one I reach for. The band is soft and bendy, so it moulds to the curve of your eye instead of fighting it, and the flare is natural enough that it reads as “your lashes, but better” rather than a costume. Forgiving of a shaky hand and genuinely wearable in daylight — the perfect place to start.

Eylure Naturals 031 False Lashes (packaging may vary)
£5.26 Amazon price, checked Jul 2026
The strip I hand every nervous first-timer — a soft, natural flare on a bendy band that forgives a shaky hand and never looks like a costume.
View on Amazon →Best no-glue option — URAQT magnetic lash and eyeliner kit
If glue simply defeats you, this is your route in and there’s no shame in taking it. You draw on the magnetic liner as you would any eyeliner, let it dry, and the lash snaps straight onto it — no tacky waiting, no sliding, and if it goes on crooked you just lift it off and try again, endlessly. It’s the most beginner-proof way into falsies I know, and I keep a kit like this for clients who want to recreate a look at home without the fuss.

URAQT Magnetic Eyelashes with Eyeliner Kit
£4.99 Amazon price, checked Jul 2026
For anyone defeated by glue: you draw the magnetic liner, the lash snaps on, and it repositions endlessly — the most beginner-proof route to falsies I know.
View on Amazon →Best for hooded and downturned eyes — half / accent lashes
This is my quiet secret for anyone with hooded or downturned eyes, where a full strip tends to vanish under the lid and do nothing. Instead of a full band, you apply a short half lash to the outer corner only. It lifts and elongates exactly where a hooded eye wants lift, gives an instant cat-eye flick, and because there’s no band across the centre of your lid it never disappears or feels heavy. If full strips have always let you down, try these — they changed how a lot of my hooded-eyed clients feel about lashes entirely.

Onlya Wispy Lashes Half Lash Pack
£6.64 Amazon price, checked Jul 2026
Half lashes on the outer corners are my secret for hooded and downturned eyes — they lift and elongate without the band disappearing under the lid.
View on Amazon →How to remove false eyelashes without ruining your natural ones
Half the damage people blame on lashes actually happens at the end of the night, when they’re tired and they grab and pull. Your own lashes come out with the false ones, and over time that thins them. Removal should be as gentle and unhurried as application.
Loosening the band the gentle way
Never, ever peel a lash straight off dry. Soak a cotton pad in a little micellar water or oil-based cleanser and hold it against your lash line for ten or fifteen seconds to dissolve the glue, or run a cotton bud dipped in remover along the band. Then, starting from the outer corner, ease the band away slowly. It should lift with almost no resistance. If it’s still tugging, it isn’t loose enough — pause and soften it more. Your natural lashes will thank you.
Cleaning and reusing strip lashes
Good strip lashes are reusable many times over if you look after them. Once off, gently peel the strip of dried glue away from the band with tweezers — it usually comes off in one satisfying line. Wipe the lash over with a little micellar water on a cotton bud to lift mascara and eye makeup, lay it back in its tray to hold its shape, and let it dry. Cared for like this, a £5 pair easily lasts five or six wears, which makes them far better value than they first look.
Frequently asked questions
How long do false eyelashes last on?
A well-applied strip with good glue comfortably lasts a full day and evening — twelve hours or more, through dinner and dancing. Magnetic lashes stay put as long as the liner does. The thing that ends a lash’s day early is almost always an overhanging band or glue that was applied too wet, both of which the steps above prevent.
Can I sleep in false lashes?
Please don’t. Sleeping in them presses the band into your lash line all night, traps bacteria and glue against your eye, and you’ll wake with them half off and your natural lashes tangled. It’s also the fastest way to lose your own lashes. Take two gentle minutes to remove them properly before bed, always.
Why do my falsies lift at the outer corner?
This is the most common complaint and it’s nearly always one of two things: the band is too long and overhanging past your eye, or you didn’t put enough glue at the ends. Trim to fit, add a touch extra adhesive at the two corners, and press the outer end down firmly and hold it for a few seconds. That usually solves it entirely.
Are magnetic or glue lashes better for beginners?
Magnetic lashes are more forgiving to apply because you can reposition them freely with no waiting and no mess, so for a true first-timer they’re the gentler introduction. Glue strips give a more seamless, natural-looking result and far more style choice, so they’re worth learning once your confidence is up. There’s no wrong answer — start where you feel calmest.
If you’ve a big occasion coming and you’d rather not gamble on your own hands for the first time on the day itself, this is exactly the sort of thing I do daily. For a wedding or a party I can apply lashes that suit your eye shape and last the night, and I’m always happy to teach you the technique in the chair so you can do it yourself next time — that’s often part of my special occasions makeup work, and if you’re headed to someone else’s big day my guide to wedding guest makeup ideas pairs beautifully with a soft natural lash.
Prices and availability were correct when I checked in July 2026 and change often — the live price is always on Amazon. Certain content on this page comes from Amazon and is provided "as is". As an Amazon Associate I earn from qualifying purchases.